 Pressure Washer Surface Cleaners
 Starting An Electric Pressure Washer
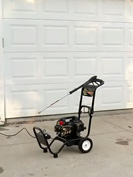
 Starting A Gas Pressure Washer
 Clean Siding With A Pressure Washer
 Pressure Washer Detergents
 Pressure Washer Extension Wands
 Pressure Washer Nozzles
 Pressure Washer Safety
 Pressure Washing Wooden Decks
 Pressure Washer Pump Repair
 Stripping Paint
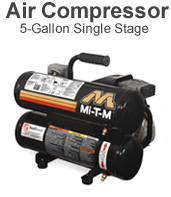
 Starting an Electric Air Compressor
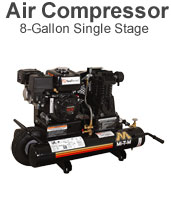
 Starting a Gas Air Compressor
 Using 70,000 BTU Heaters
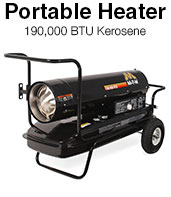
 Using 190,000 BTU Heaters
Starting An Electric Pressure Washer
Setting up a pressure washer is easy and doesn't require any tools. This video will show the startup procedure for an electric motor-driven pressure washer.
Instructions
 1Make sure the pressure washer is on a flat surface.
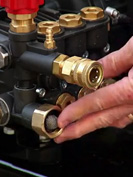 2Check to make sure the water strainer is in place and free of debris.
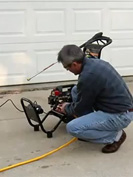 3Connect a garden hose to the washer, and the other end to your water supply.
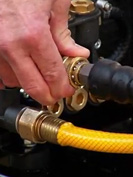 4Connect the male end of the high-pressure hose that comes with the unit into the water outlet on the pressure washer.
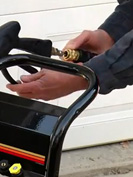 5Slide the plug on the bottom of the gun assembly onto the other end of the hose, making sure the collar snaps into place.
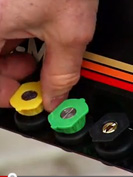 6Select the high-pressure nozzle best suited to your cleaning task.
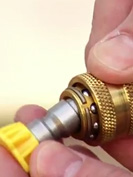 7To install, pull back the collar on the end of the gun and wand assembly, attach the nozzle and release the collar, making sure it snaps into place securing the nozzle.
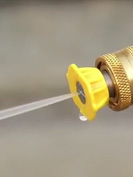 8Turn on the water. The pressure washer and hose will fill with water, so it is important to purge the system of excess air (simply squeeze the trigger on the gun) before starting the unit.
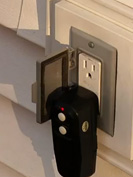 9Now you are ready to start the motor on the pressure washer. Plug it into a properly grounded outlet and make sure the GFCI is set.
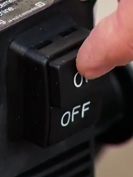 10Turn the switch on the motor to the ON position.
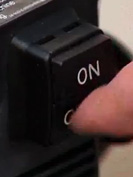 11When you you've completed your tasks, turn off the motor and unplug the washer from the electrical outlet.
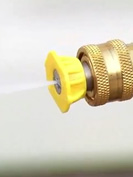 12Squeeze the trigger to release the pressure after the unit has been shut off.
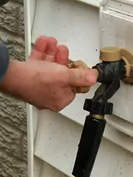 13Turn off your water supply.
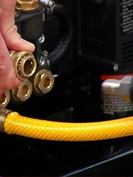 14Disconnect the high-pressure hose from the unit and gun, and disconnect the garden hose.
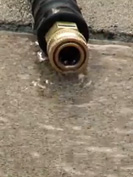 15Remove as much water as possible from the hoses.
 16Remove the nozzle from the gun, and return it to the holder on the unit.